
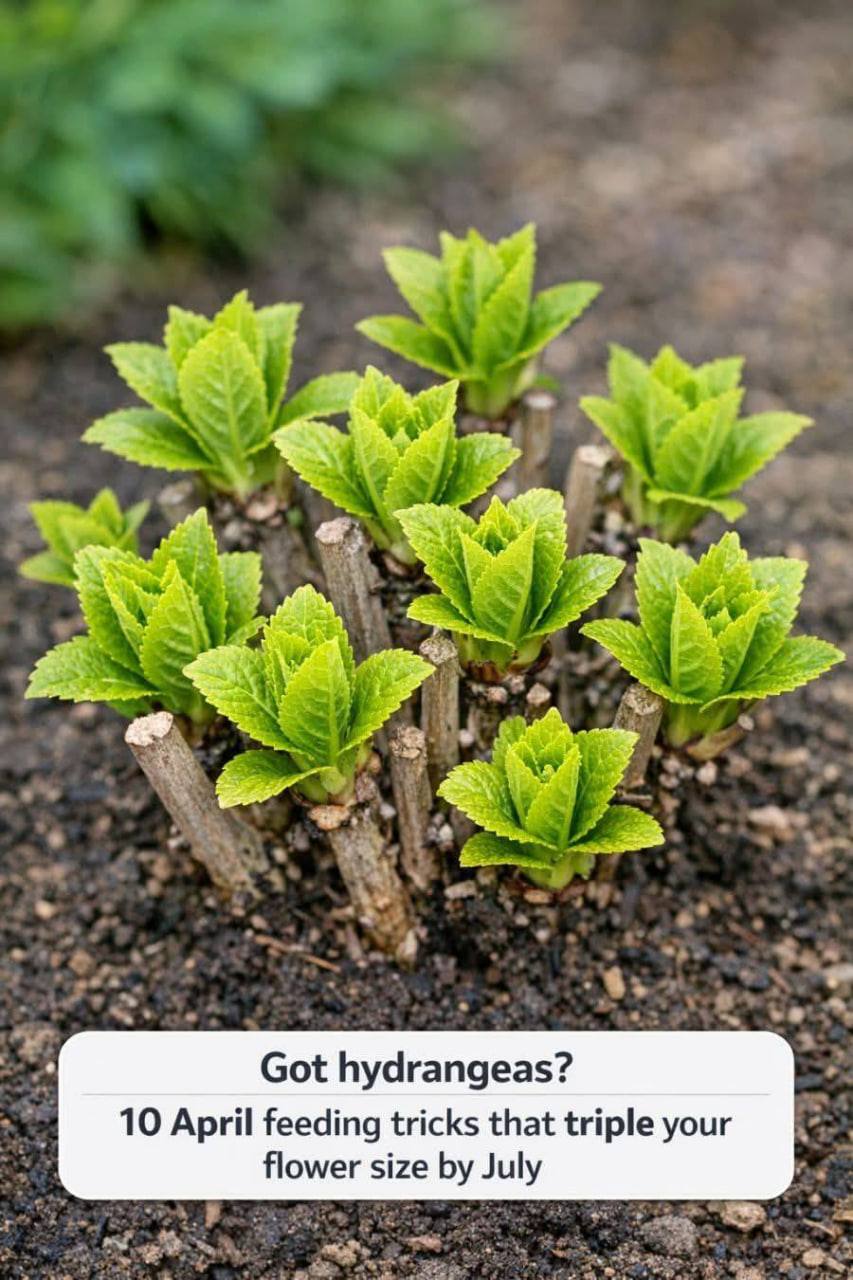
Hydrangeas are a beloved staple in many gardens, known for their lush foliage and stunning blooms. However, achieving those enviable, voluminous flowers requires more than just sunlight and water. To truly make your hydrangeas the star of the summer garden, strategic feeding in April can set the stage for blooms that are three times their usual size by July.
April is a critical month for hydrangea care because it’s when these plants begin their active growing season. By tailoring your feeding approach to their specific needs during this period, you can maximize their flowering potential. Here are ten proven feeding tricks to ensure your hydrangeas are the talk of the neighborhood by midsummer.
1. Start With a Soil Test So You Don’t Feed Blindly
Before you begin any feeding regimen, it’s essential to understand the current state of your soil. A soil test provides a comprehensive overview of your soil’s pH level and nutrient content, such as nitrogen, phosphorus, and potassium. You can purchase a soil test kit from a garden center or send a sample to a local extension service. The results will guide you in selecting the appropriate fertilizers and amendments. For hydrangeas, an ideal pH level is between 5.5 and 6.5, which affects their color and growth. Adjusting the soil’s pH and nutrient levels based on the test results will ensure your feeding efforts are effective.
2. Choose the Right Fertilizer Formula for Monster Blooms
Selecting a fertilizer specifically formulated for hydrangeas can make a significant difference in bloom size and health. Look for a balanced fertilizer with an NPK ratio of 10-10-10 or a formula slightly higher in phosphorus, such as 10-20-10, to promote larger blooms. Phosphorus is crucial for flower development, while nitrogen supports overall plant growth. Apply the fertilizer according to the package instructions, ensuring not to over-fertilize, which can lead to lush foliage but fewer flowers.
3. Time Your First April Feeding to Catch the Growth Surge
see continuation on next page
3. Time Your First April Feeding to Catch the Growth Surge
Timing is everything when it comes to feeding hydrangeas. Plan your first feeding in early to mid-April, just as the plants begin to break dormancy and enter their active growth phase. This period is when the plants are most receptive to nutrient uptake. Fertilize after a light rain or water the plants thoroughly before applying fertilizer to prevent root burn and ensure even distribution.
4. Use the ‘Ring Method’ to Spread Fertilizer Exactly Where Roots Drink
The ‘Ring Method’ involves spreading fertilizer in a circular band around the drip line of the hydrangea, which is the area directly beneath the outermost branches. This method ensures that nutrients reach the root zone where they are most needed. Measure about 12 to 18 inches from the base of the plant, depending on its size, and sprinkle the fertilizer evenly in this zone. Rake it lightly into the soil and water thoroughly to activate the nutrients.
5. Supercharge With Slow-Release Pellets for All-Season Flower Power
In addition to regular fertilizers, consider using slow-release pellets to provide a steady supply of nutrients throughout the growing season. These pellets gradually dissolve, ensuring that your hydrangeas have continuous access to essential nutrients without the risk of over-fertilization. Apply slow-release pellets in early April alongside your initial feeding, according to the manufacturer’s guidelines, and enjoy the benefits of extended feeding with less maintenance.
6. Layer in Bloom-Boosting Compost for Bigger, Juicier Heads
Adding a layer of rich compost around the base of your hydrangeas not only improves soil texture but also provides a natural source of nutrients. Compost enhances soil fertility and moisture retention, which is crucial for supporting the development of large, vibrant blooms. Spread a 2-3 inch layer of compost in the same ring where you applied your fertilizer, and gently work it into the top few inches of soil to integrate it with your hydrangea’s root zone.
7. Add Coffee Grounds and Eggshells for a DIY Calcium-and-Acid Kick
see continuation on next page
NEXT PAGE
ADVERTISEMENT
